Moving a Zaapit tab to Salesforce’s production environment is a crucial task. It helps organizations enhance their customer relationship management. This guide provides a step-by-step approach to ensure a smooth and efficient migration.
Follow this guide to enhance your Salesforce environment with Zaapit features. Improve your organization’s productivity and manage customer data effectively. Let’s optimize your Salesforce experience with the power of Zaapit.
To move a Zaapit tab, you have two options: use Salesforce’s Change Set or create the tab directly in your production environment.
Option 1: Using Salesforce’s Change Set
- Prepare the Change Set: In your sandbox environment, create a new outbound change set.
- Add Components: Add the Zaapit tab and any related components to the change set.
- Upload Change Set: Upload the change set to the production environment.
- Deploy Change Set: In the production environment, validate and deploy the change set.
Option 2: Manual Creation
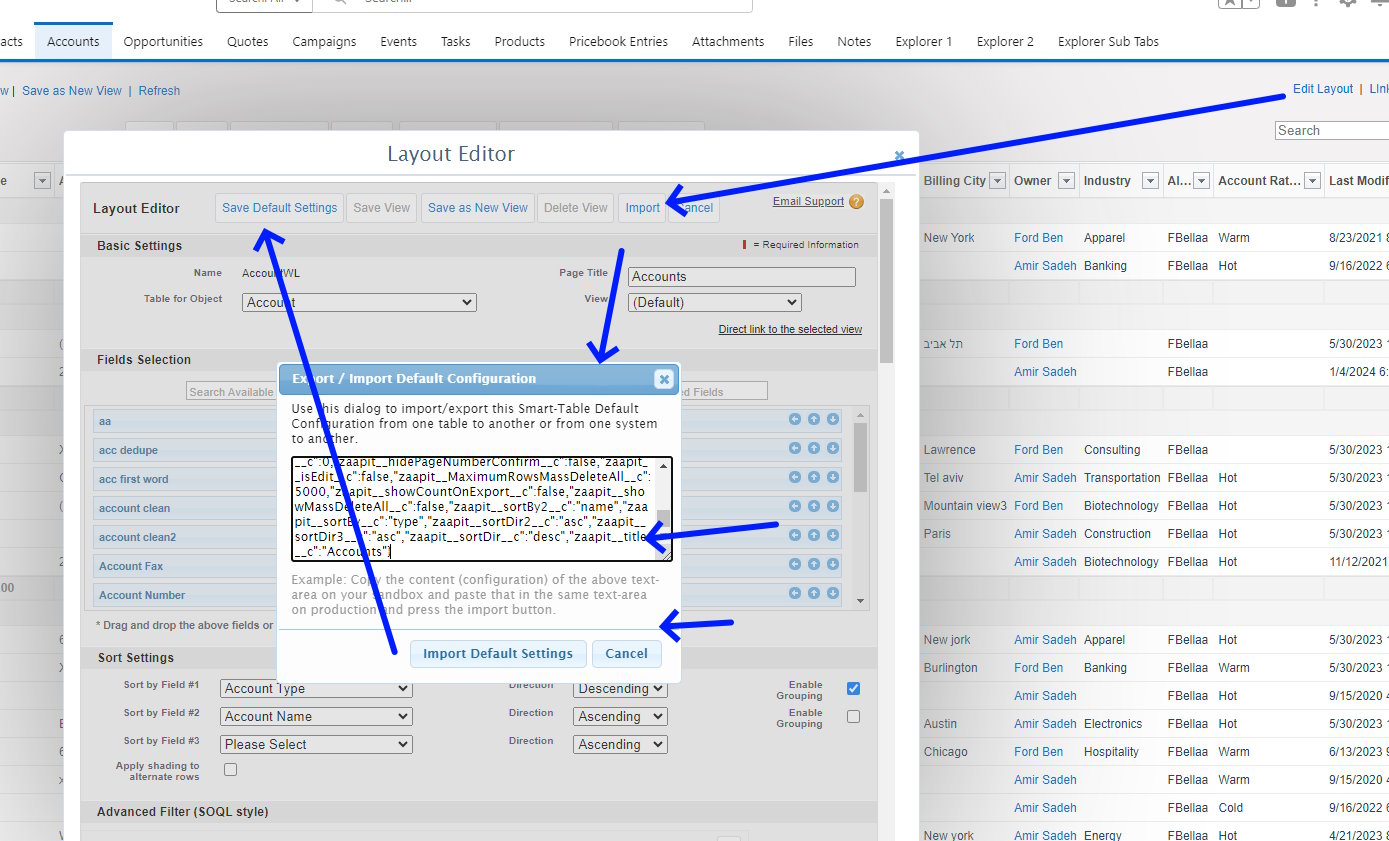
- Edit Layout: Go to the production environment and navigate to the tab settings.
- Import Settings: Click on “Edit Layout” > “Import”.
- Copy Settings: In the sandbox environment, copy the tab settings.
- Paste Settings: Paste these settings into the corresponding fields in the production environment.
By following these steps, you can ensure a smooth transfer of your Zaapit tab from sandbox to production, maintaining all necessary configurations and settings.
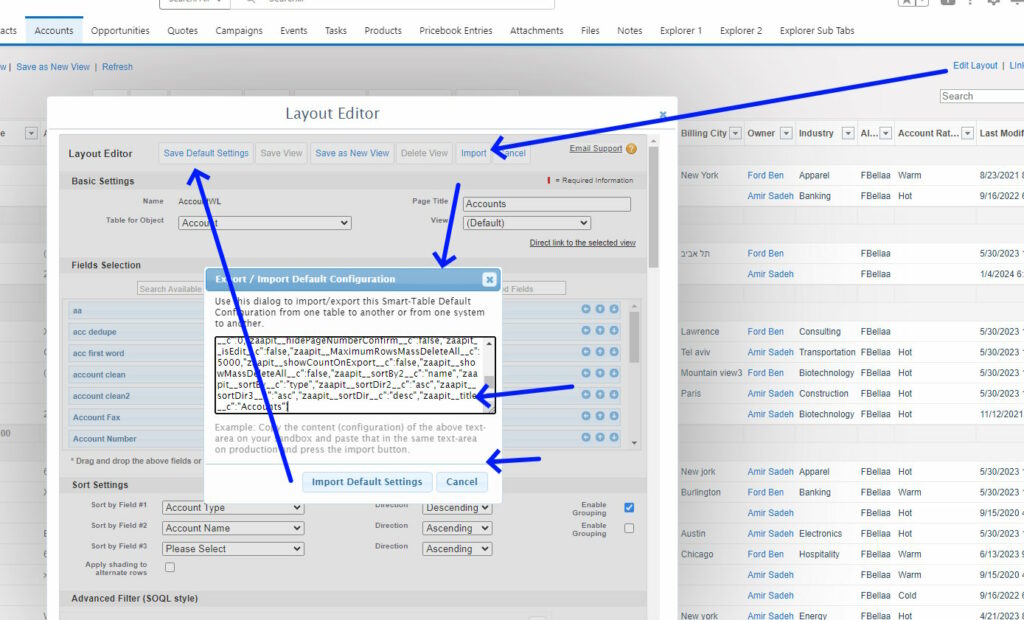
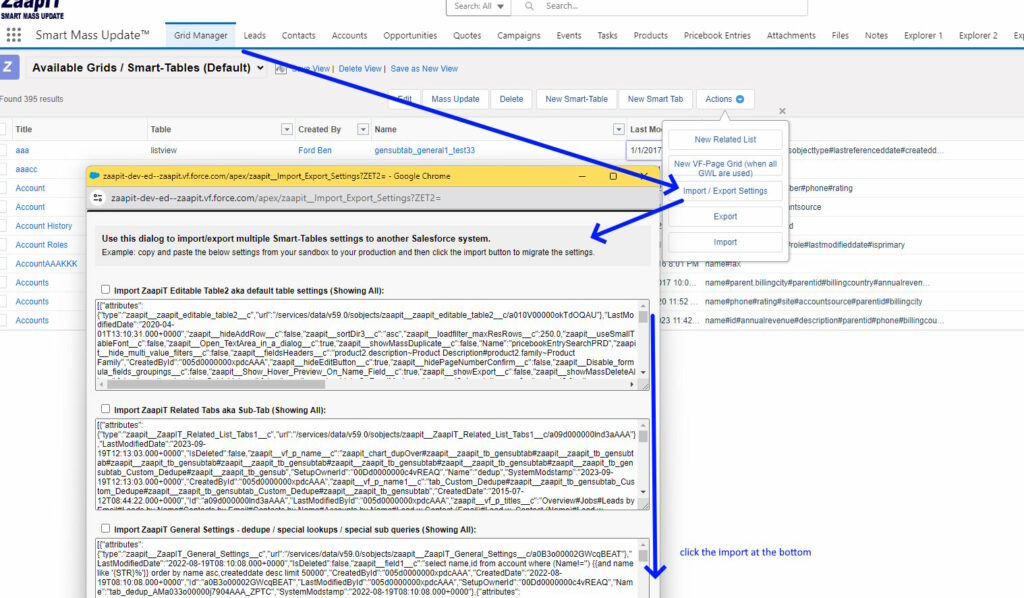
The images below visually outline the process, providing a clear and concise overview to ensure you understand each step.

If you need to move all the settings to a sandbox/dev org then you can use the grid-manager>import>..

if this guide was helpful and you want to learn for about Salesforce Data Management with Zaapit, we recommend you check out our Mastering Salesforce Data Management guide.
for more information or questions, contact us at zaapit.com.

